Set Up AWS S3 as Backup Storage for Zimly: A Step-by-Step Guide
Amazon S3 is the original implementation of the S3 protocol and is a service provided by Amazon Web Services (AWS). S3 allows you to create multiple buckets for storing and organizing your data, including media files.
AWS is generally a technical product aimed at tech-savvy users.
The pricing is competitive. For instance, with approximately 15-20 GB of data, you can expect a monthly cost of around 1 Euro. AWS also lets you choose the region where your data will be stored, such as Zurich if you are based in Switzerland.
Prerequisites
Before you begin, make sure to:
- Sign up for AWS
- Provide your credit card details for payment. You may receive some sign-up credits.
- Have a basic understanding of web hosting services and web security concepts.
In this setup, you will be working with two AWS services: S3 and IAM.
- S3: Create an S3 bucket
- IAM: Create a user and attach a policy that allows your user to access the S3 bucket.
Finally, we will test our setup using the IAM Policy Simulator.
Create an S3 bucket
First, navigate to the S3 service in the AWS Management Console.
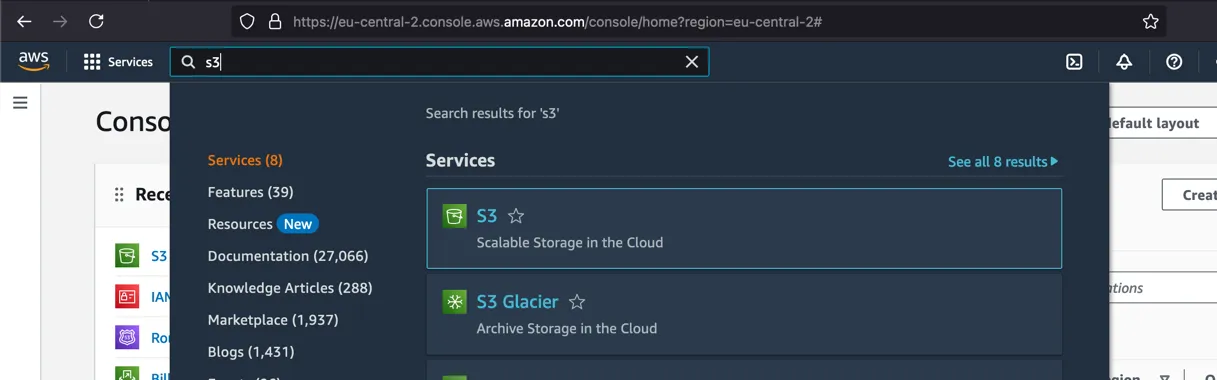
Ensure that your preferred region is selected in the console. Note that some regions, such as Switzerland, may need to be activated before you can use them.
Next, create a new bucket and give it a meaningful name.
Organizing Your Media in Backup Buckets
Before proceeding, let’s take a moment to discuss naming conventions and how to organize your media in your remote backup location. Here are a few important points to consider:
- Global Uniqueness: S3 bucket names are globally unique, so you may encounter name clashes.
- Naming Conventions: When naming your bucket, consider following specific conventions to avoid conflicts and ensure it remains relevant if you change devices. For example a good naming pattern might include a personal identifier, the device name, and the year.
Here’s a naming suggestion:
2024-zimly-pixel-<identifier>.
Explanation: zimly will always create a folder (object prefix for the S3-savvy reader) with the same name as the folder on your mobile device. For example, if you are synchronizing your Camera folder, all photos and videos will be stored as follows:
2024-zimly-pixel-<identifier>/Camera/PXL_20240120_210148066.jpg
This approach allows you to reuse the bucket for all media on your current mobile device. When you switch to a new device, simply create a new bucket.
Note: You can reuse the bucket for a new device because zimly operates as a one-way sync and will not delete existing files.
Create User and Permissions
To access your newly created bucket from the zimly app, you will need to create a user with the correct permissions. This will be managed in the IAM service.
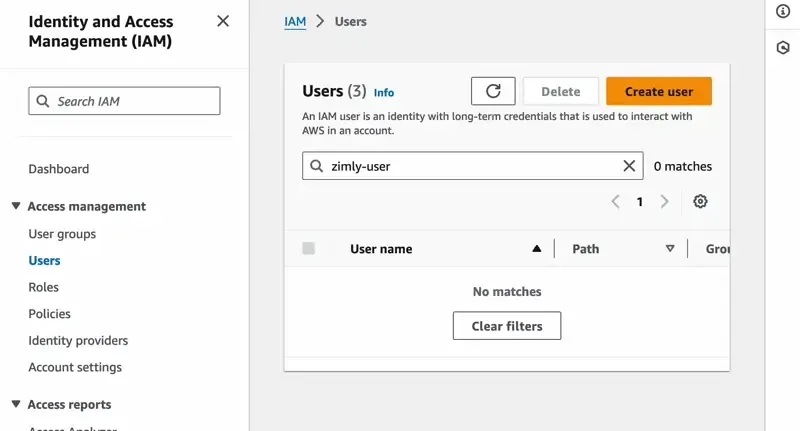
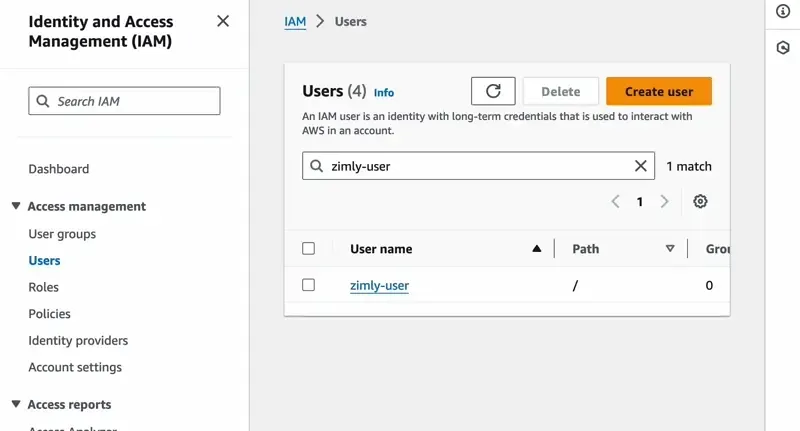
Create an IAM User
Navigate to the IAM service and create a new user, for example, zimly-user.
This user will access the bucket using a generated access key and secret. The secret is only visible at the time of creation, so be sure to store it securely in your password manager. If you lose the secret, you can generate a new access key and secret pair for the user and remove the old ones.
Attach a Policy to the User
To provide the minimum necessary permissions for uploading your media to the bucket, create a new Inline Policy directly attached to the user.
Choose the JSON editor and copy-paste the following snippet and replace the <identifier> part:
{
  "Version": "2012-10-17",
  "Statement": [
    {
      "Effect": "Allow",
      "Action": [
        "s3:ListBucket",
        "s3:GetObject",
        "s3:PutObject"
      ],
      "Resource": [
        "arn:aws:s3:::2024-zimly-pixel-<identifier>",
        "arn:aws:s3:::2024-zimly-pixel-<identifier>/*"
      ]
    }
  ]
}
Optionally, you can add permission to delete objects in your bucket by appending s3:DeleteObject to the Action list.
Alternatively, you can grant the user full permissions to the S3 service, but it is recommended to keep permissions as restrictive as possible to enhance security.
Finalizing Your Backup Setup in zimly
Now, let’s put everything together and finalize the backup setup in zimly. We’ll create a new configuration to back up
the Pictures folder.
Name: Zimly AWS bucket
URL: https://s3.<selected-region>.amazonaws.com/
Key: <iam-access-key>
Secret: <iam-access-secret>
Bucket: 2024-zimly-pixel-<identifier>

Folder: PicturesNote: Replace <selected-region> with the region you selected earlier, e.g., eu-central-2 for Switzerland.
If you encounter any issues with permissions, you can test your policies using the AWS Policy Simulator.